|

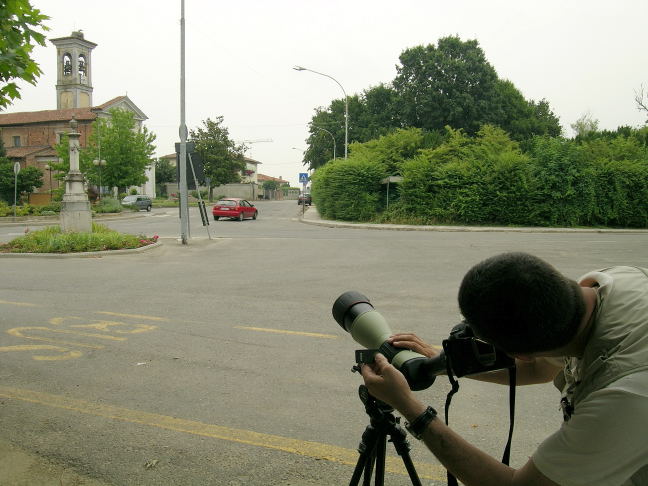
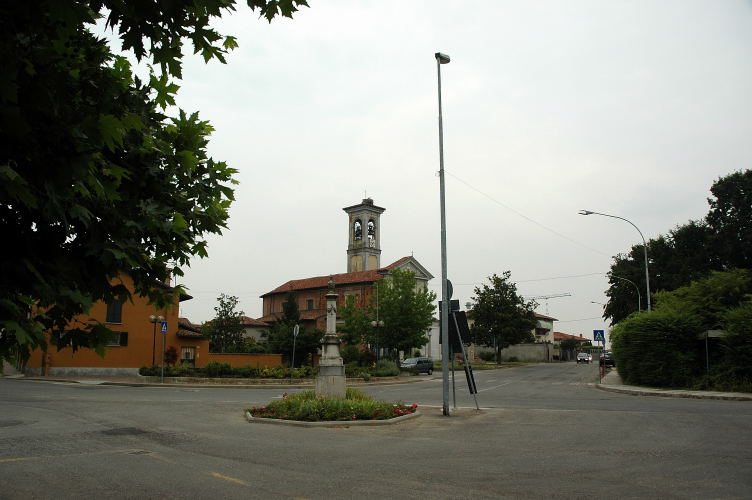
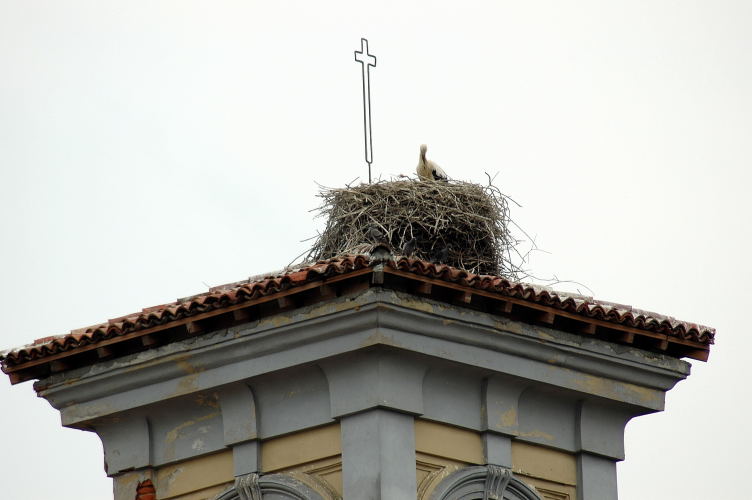
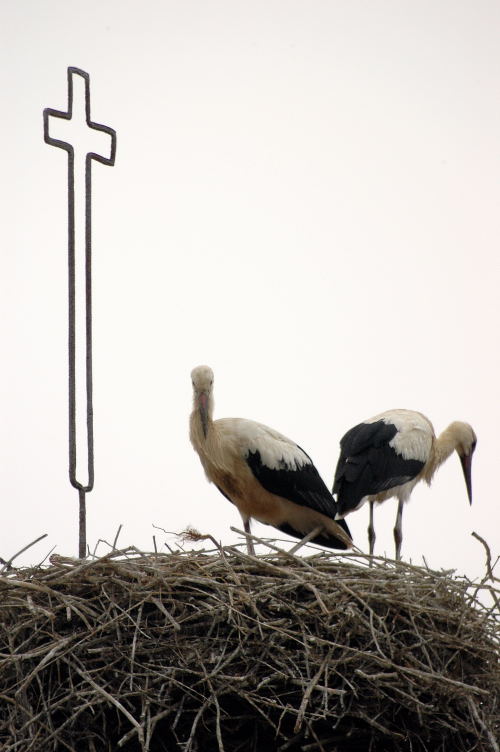
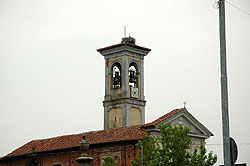
Just outside the Sant` Alessio Oasis we saw a stork´s nest. We prepare to shoot, after focusing we will use a remote ML-LS for the shot.
Using the zoom 18/70 f/3.5-4.5G to the 18mm lens, ISO 200, f/6.3 1/400.
To the 70 mm lens, f/6 1/300.

with the 70-300mm zoom f/4-5.6 G to the 180mm f/5.6 1/400, always a 200 ISO.

To the 300mm lens a f/5.6 1/320.

Here we are with the Fieldscope ready to shoot. We used a 640 ISO to have acceptable timing, 1/320 to the Fieldscope f/13 fixed diaphragm.
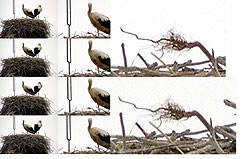
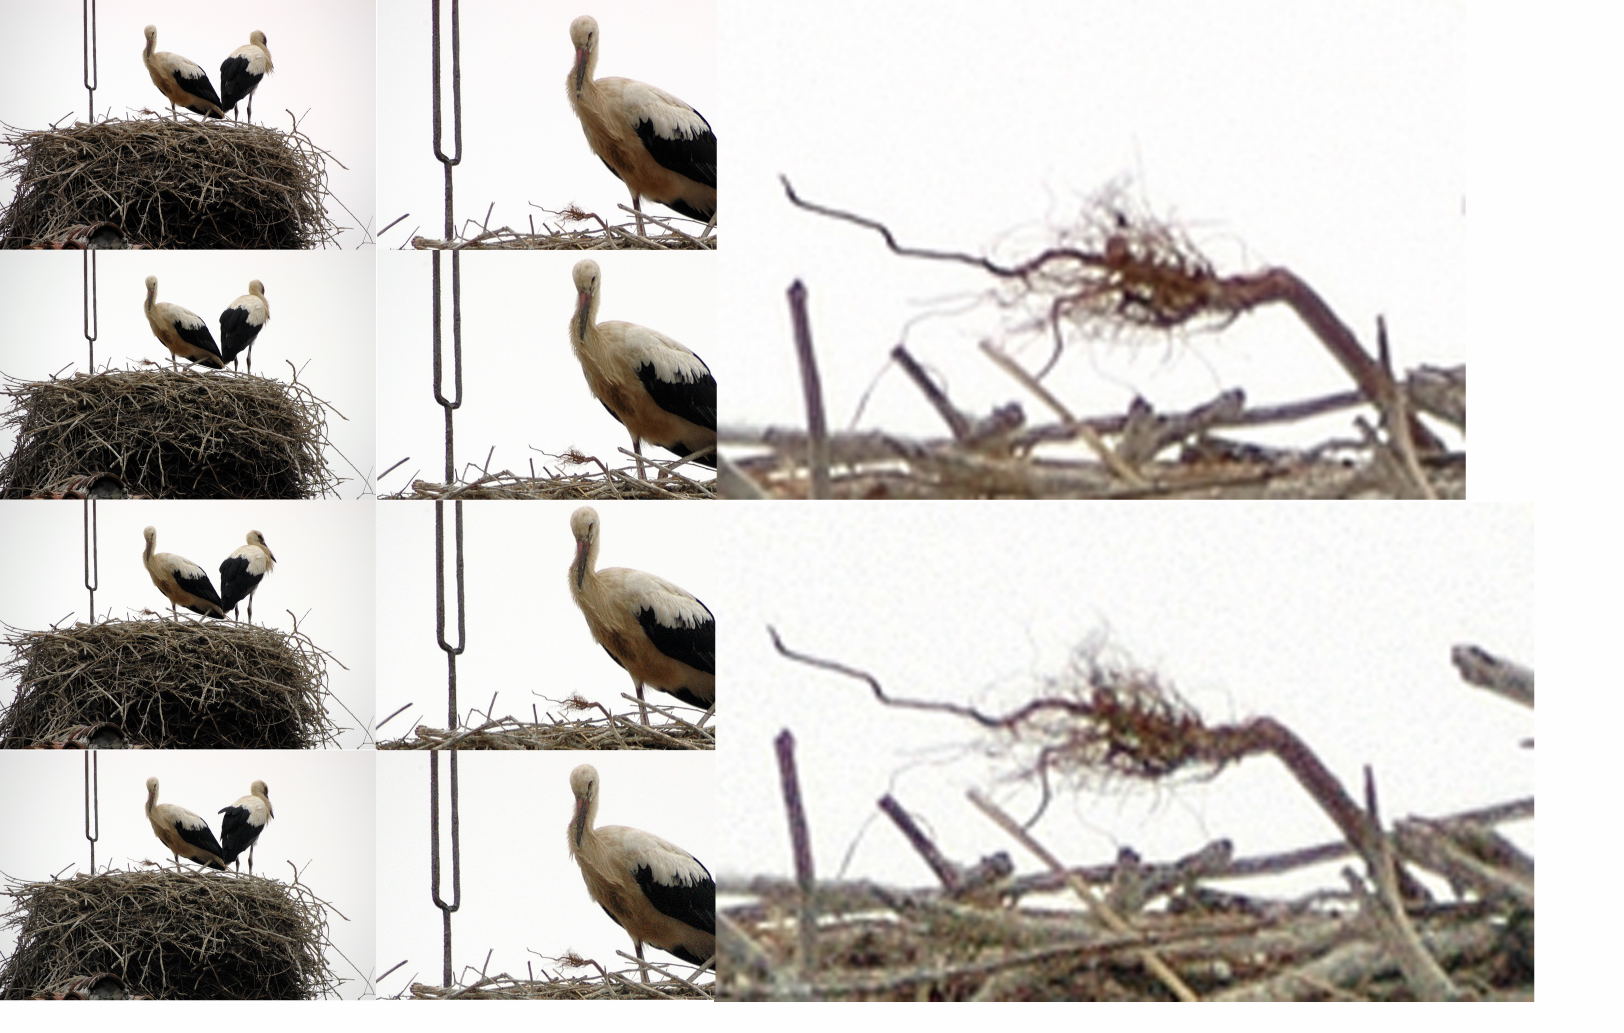
The four images on the left were shot, from top to bottom, with 200, 400, 800, 1600 ISO with shoot times of 1/100, 1/200, 1/400 and 1/800. In the central column two details referring to the right and left shots with the same detail as the shots made with 200 ISO and 1/100 and 1600 ISO with 1/800. In spite of the increase in grain, the sharpness sensation is greater at 1600 ISO because the shoot timing is quicker which eliminates the small movements that occur in the image shot with 200 ISO. The detail in question is magnified 18x the original image, we are therefore in front of a result obtained with a " virtual 27,000mm lens"!!! It's not clear if the subject is a log with many roots or an electrical cable with frayed copper wires.

The maximum enlargement obtained without post calculations is this shot made with the Coolpix 5400 and Fieldscope 45x zoom lens. The Coolpix zoom lens was put on 52.8mm with a digital enlargement during filming of 2.2x, f/4.6 at 1/660, 400 ISO.
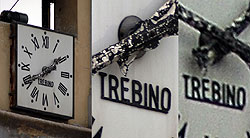
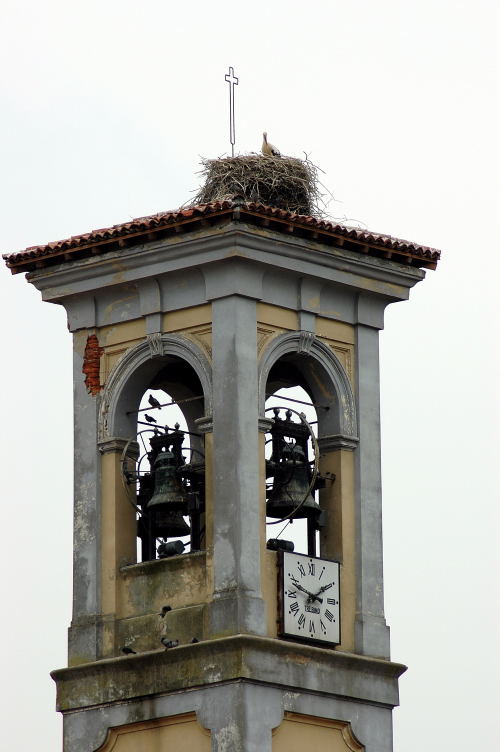
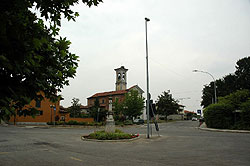
Another detail. The clock tower taken with the Fieldscope on the left, whilst in the centre a detail from the left hand image and on the right a detail taken from the shot made with a 180mm lens and 70/300 zoom.
|
 |
In the Field
We begin with the equipment required:
Fieldscope;FSA-L1, Tripod, micrometric head, double attachment arm, remote or distance operated reflex, a good size memory, or a portable computer to connect to the camera to manage the Nikon Capture program to check for focal sharpness and eventual small movements on the portable monitor, Nikon D70 with remote ML-L3, spirit level with flash slide attachment. We have worked with a Neotec Manfrotto tripod that has the great advantage of being opened and closed in seconds and which has an incorporated handle for easy traveling, the Manfrotto 408 micrometric head, and D70 and Fieldscope bag. In this way the moving between places is easy, not tiring and always with the equipment kept safe. We remind you that the stability of the tripod is inversely proportionate to the length of it's legs and above all of the column: we try therefore to always work with the legs extended first and the Fieldscope positioned on top, the last thing the column.
The Fieldscope Settings:
1) Incorporated shade always in the working position.
2) Check between the Fieldscope used and the FSA-L1 (it's enough to put a screw on the FSA-L1 in one of the 4 holes according to the Fieldscope in use; moving the screw makes micro changes to some distance parameters of the internal optic group.
3) "Tight" fixing of the FSA-L1 to the Fieldscope.
4) Anchoring the D70 to the FSA-L1 and fixing screws that allow the camera to rotate around the Fieldscope axis.
5) Perfect Fieldscope anchoring to the tripod head – checking every now and then that the Fieldscope is well anchored to the head, in our case this has a quick release.
The D70 Settings (or Nikon digital reflex):
1) Camera leveling, using a spirit level for flash slide and acting on the FSA-L1 rotating screws: leveling must be made during filming, in most cases micro defects cannot be corrected after production.
2) Fixing the main ring to A (diaphragm priority)
3) Checking resolution and compression parameters that must naturally be set to maximum resolution, minimum compression – or even better on RAW
4) Contrast, Sharpness etc: the best results are certainly obtained working in RAW and tuning the result after production with Nikon Capture. If we work with JPG but we intend to edit the image with Nikon Capture all settings should be set to zero. If we work with JPG and we don't want to make ulterior changes after production it's possible to increase both the sharpness and contrast in all those situations in which the image would appear too soft, but without exaggerating.
5) White set balancing, set on "sun" or "cloud" according to the situation with eventual micro adjustments varying the colour temperature with the suitable function – 3/+3; it's also possible to carry out a White Balance Preset.
6) Spot exposure system setting, according to the subject reflection: the typical situation in which the subject, for example an animal is lit up by the sun with a dark woody background prefers a spot exposure reading or average to the centre.
7) AF focusing exclusion.
8) Bracketing, according to the situation, when for example it's not possible to review the shots just taken, immediately and continually: one must be very careful to not "overrun" the high lights: in this experience the delicate feathers of a white stork´ss neck often are completely "burnt" in the first shots, corrected then by bracketing and/or intentional under exposure.
9) Focus Bracketing; the reflex automatic focus are not the best to use in the manual focus evaluation through the finder, even if helped by the manual focus indicator: even if using the Fieldscope with Nikon digital reflex the assisted manual focus is activated, it's always better to make more shots varying by small amounts the Fieldscope ring, to then choose the most clear picture on the PC; here obviously a portable PC helps things. However, we can guarantee that, thanks to the long focals used, above all if the subject is relatively near – 100/300m – the difference between a clear picture and an out of focus one is corrected by rotating 1/10th of a millimeter the Fieldscope focusing ring; it's better therefore to make a Bracketing focus, varying by micro amounts, instead of desperately trying to (often with scarce results) to see the best focus made through the camera's finder, also using magnifying lens like the DG-2.
10) Sensitivity: our field trials showed satisfying results even working with 1600 ISO.
The Compact Digital settings with a screw attachment to the lens (Coolpix 950,990,995,4500 etc.):
1) The rules listed above for the D70 apply with the following to be added;
2) Focus on infinitive
3) Flash exclusion
4) Zoom positioned on the focal enough to outline on the display the area of a rectangle image
5) Mandatory use of distance shooting or alternatively automatic shot
6) Thanks to the fact that the compacts don't have a mirror they don't have the potential problem of small movements caused by it turning over, if one can work with long shooting times – if the subject isn't moving.
7) If the Fieldscope has a zoom lens begin to shoot with the minimum magnifying lens then to be increased.
|
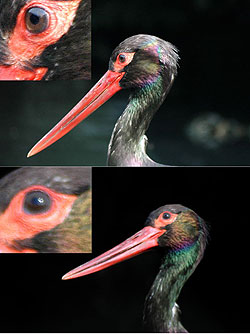
Black stork. At the top 400 ISO 1/100, at the bottom still 400 ISO but with 1/250 sec. If it's true the quicker the timing the greater possibility of having a sharp shot, the focusing and eventual subject movements can also ruin the image. It's therefore necessary to take a greater number of shots, trying wherever possible to vary focusing by small amounts, and above all, be lucky…
|
|
The Compact Digital Settings with a screw attachment on the camera body:
We talk about cameras such as the Coolpix 5000,5400,5700 etc, with these cameras there is an adapter for this purpose, one can however choose between the FSA adapter or the bar.
1) The rules listed above for the compact digitals with a screw attachment apply with the following to be added, in some cases there is a need to put the camera's zoom on to one of the teledigital positions, so you will have during filming a shot using the whole sensor, without having to cut the image and avoiding image overlap. A trial shoot is necessary when using any of the above equipment to check the images obtained on a PC; for every shot as well as EXIF data taken from the file, it's a good idea to note the filming and visibility conditions.
It's better to photograph stationary subjects which can then be shot again, it would also be a good idea to work from home at the beginning so the results can be checked on the PC.
|
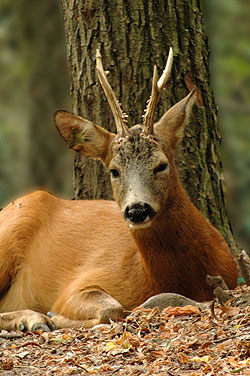
A roebuck "frozen "at 1600 ISO with impossible shoot time: 1/30 sec.
|